Showing posts with label scrapbooking projects. Show all posts

11.30.2014

Christmas Card Books

I wanted to do something with the Christmas cards we receive each year, so I finally figured out what I wanted to do: I created a little book of them for each year.


I had our cards saved for all the years that my husband & I have been married, here are all 9 books I made- 2005-2013...


I wanted them to be super-simple so it's easy to make one each year. All I did was punch holes through all the cards, photos, & letters and I bound them together using gold raffia. Ribbon would have also been great. I used a 4x6 card for the front and another one for the back of each book from my Project Life kits. And I labelled them and wrote the year. It doesn't get any easier, I tell ya!


I used cards from the Amber Edition, the Clementine Edition, The Honey Edition, and the Midnight Edition of Project Life.


It's been neat looking through them and seeing the older photos of our family and friends!


This was the perfect solution in my mind since all the cards are a total variety of shapes and sizes.


They are stored in this basket for the month of December, then I can easily make a new book for 2014 and add it to the collection before storing these away until next Christmas!


What do you do with your Christmas cards at the end of the holidays each year? Do you toss them or do you save them??


10.29.2011

ABC quietbook for church {re-post}

For scrapbook saturday today, I thought I would re-post this Gospel Quietbook I made a couple years ago. (Back before I had a craft blog & was posting all my crafty stuff on our family blog.)


-------------------------------------------------------------------------------------


I made this scrapbook-style Gospel ABC Quietbook for my son to look through at church...


A:

B & C:

D & E:


F & G: ( I'll be able to update our family picture from time to time) I have yet to include pictures of kid's grandparents for the "G" page.


H & I:


J & K:
L & M:
N & O:
P & Q:
R & S:
T & U:

V & W:

X & Y: (instead of including a picture of my son on the letter "y" page -"Y" is for You- I decided to put one of those locker mirrors in the book instead. Kids like looking in the mirror and I can use the same book for our next child as well. He likes looking at this page the best during church.)


Z:

My son still likes looking through his book. He likes pointing out all the letters, talking about the Savior and the prophet and the temple. And asking about the other photos

5.07.2011

scrapbook sturday #17- family mini album

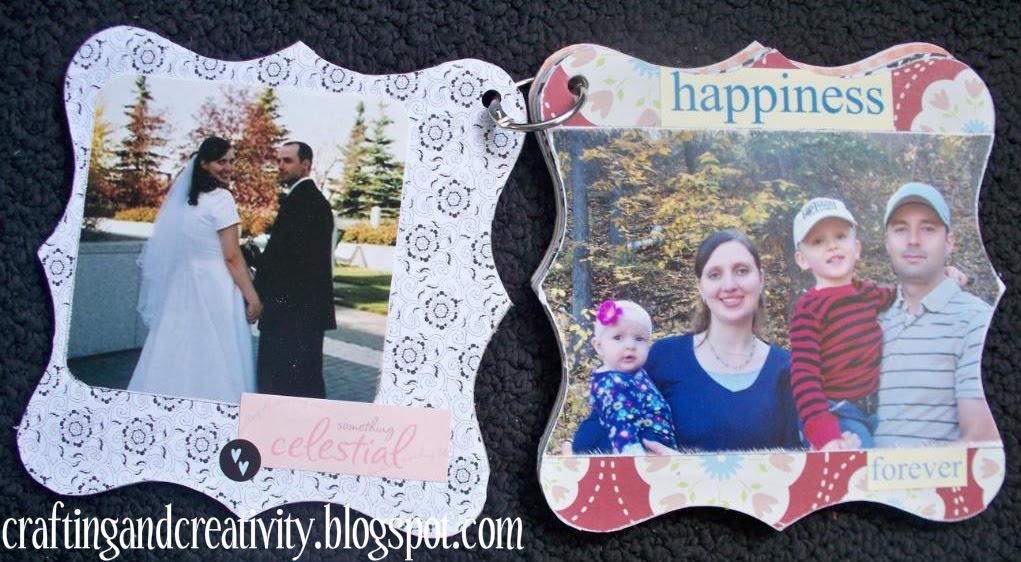
This week I made up this small bracket-shaped mini album of some photos of my family that I love.

The cover:


inside pages:


And just a plain back over to it:


I just wanted to use paper that I loved, simple sentiment stickers, and most importantly- photos that I love to look at!!


And I may as well share the Mother's Day cards I made......


I just used fun coordinating patterned paper and my sewing machine to put these together. They're quite simple, but I think they turned out pretty!


Have a Happy Mother's Day tomorrow ladies!!


Photobucket

12.04.2010

scrapbook saturday #11- my december daily album

If you scrapbook, you probably know all about Ali Edwards. She has an amazing scrapbook style and is just inspiring. I love her December Daily concept. I documented each day leading up to Christmas a couple of years ago and loved doing it! So I am excited to do it again this December!! [You can see my 2008 December Daily album HERE]

My 2008 album was 6'' X 12" which was a good size. This year I decided to make it 6" X6".

These are just some of the pages I cut to include in my album...


And I also gathered a bunch of scraps and odds & ends that will work great in my book.


Here's the cover page...


The rings seem big now, but they need to be a decent size to hold all that will be added this month. I prefer to make up the pages as I go. Others choose to pre-make each page with the date and spaces for their photos. I would rather make a few pages here and there as I get pictures printed. I like to have the photos before the page gets made.


The fun thing is adding some pages that are a bit smaller than the others. The layers look cool and it just keeps the book fun to look through at the end!

I'll post some pages as I go. I'm loving this Christmas season so far and the best is yet to come!


11.06.2010

scrapbook saturday #8: anniversary album

This week I made this layout using the picture of my husband and I from our 5th anniversary last month.......


I added it to my "anniversary album". The album itself is an 8 X 8 version of my 12 X 12 wedding albums. So every year on our anniversary we take a picture together and I make a layout each year to add my little album. After just 5 years together it's fun looking back at the pictures, imagine how fun this will be to look back on 25 years from now!


Using one of our wedding photos on the first page......


And here are the last couple of years to give you an idea of how some of my other pages look.......


I keep the layout of each page pretty simple with just the photo and the year, mixed with some fun paper and minimal embellishments. Easy!


I was also toying with the idea of adding another page beside each page from the past years to have a place to write the highlights and milestones we experienced in each year of marriage..... eg. children born, jobs, moving, buying our first home, vehicle we owned, vacations, etc. Yes, I thing I might just do that after all.


I'm joining in the scrapbook fun at these sites today:


BWS tips button

{This was featured on Scrappy Gifts.}


7.20.2010

december daily album

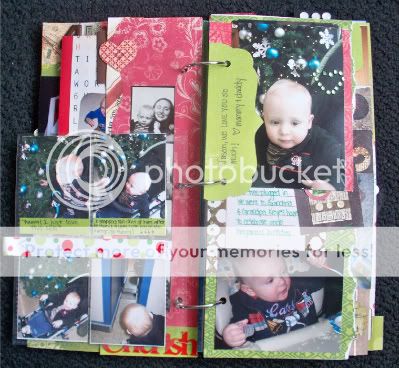
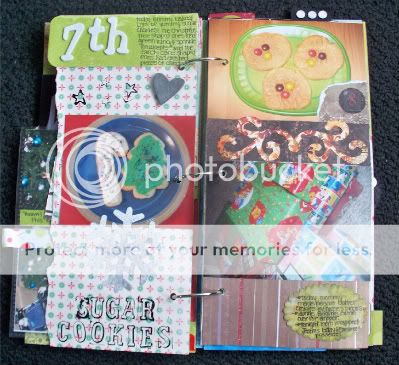
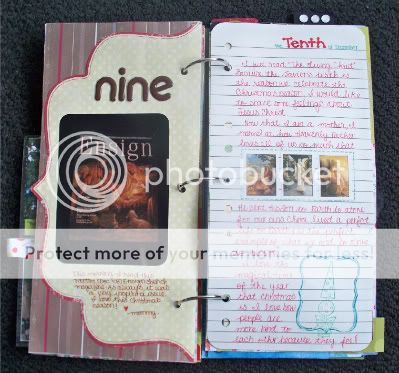
During the 2008 Christmas season, I took Ali Edward's December Daily concept & made an album documenting what we did in the days leading up to Christmas. I love looking back at what we did that year. I made it a 6" X 12" size which I found really fun to do. The whole idea with this book is that anything goes!! There are some pages that are smaller and the different sizes look cool all together.

front cover:
dec 1st:
dec 2nd:
dec 2nd & 3rd:
dec 4th:
on dec 4th I made all of our Christmas cards, so I included one of the cards along with the photo of our son we sent out in an envelope.

dec 4th:
dec 5th:
dec 5th:
dec 5th:
dec 5th & 6th:
dec 7th & 8th:
dec 9th & 10th:
dec 10th & 11th:
dec 12th:dec 13th:
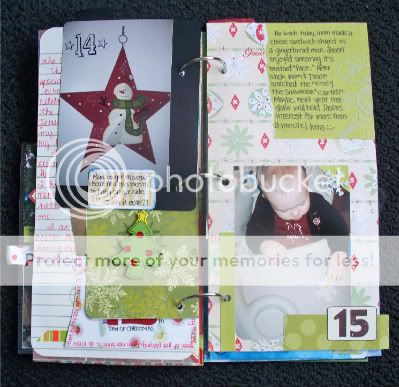
dec 14th & 15th:
dec 16th:
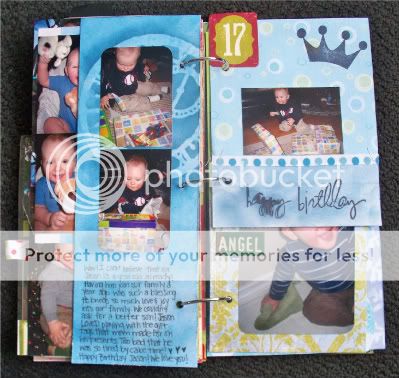
dec 17th:
dec 17th:
dec 18th & 19th:
dec 20th:
dec 21st & 22nd:
dec 22nd & 23rd:
dec 24th & 25th:
dec 25th:
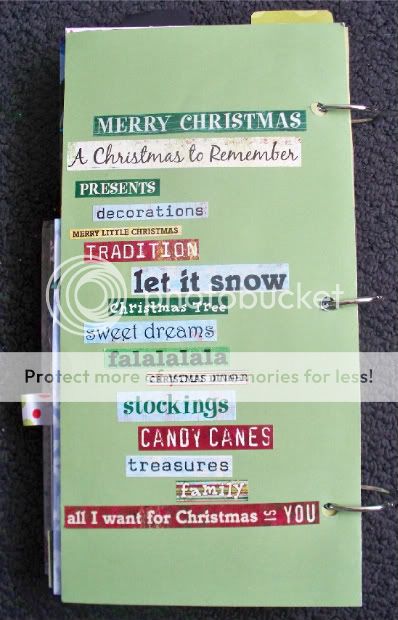
back cover:

LinkWithin

Related Posts with Thumbnails