Showing posts with label fashion. Show all posts

7.01.2011

Happy Canada Day! {part 2}

I made my kids shirts for Canada Day this morning- wish I hadn't left making them until the last minute. But this week flew by super-fast!


Anyways, trying to get a picture of them together can sure be tricky. This is the best that I got. My daughter was tired and needed her nap & was mad that I wouldn't let her run around.


I started out with 2 shirts from Walmart (they were $4 each.)


I washed them before I got to work so they were pre-shrunk. For my son's shirt, I originally wanted a white shirt with red paint on it. But he is 3 and a half and wants everything to be blue- his fave colour. So I let him get blue and used black paint instead. I think the red and white would have looked better, but oh well!


So I had him dip his hand in paint and then put his hand on the shirt. His hand acts as the maple leaf of the flag. Then I made the sides with a foam brush. I wasn't concerned about perfection.


For my daughter's shirt, In used freezer paper and a maple leaf die cut to make my stencil. And I cut the sides of the flag out of the freezer paper using my paper trimmer.


I decided to make it pink and girly. So after I pained on the pink, I added some glitter paint over top. Super cute!


Happy Canada Day to my fellow Canadians! Enjoy your long weekend! :)


6.28.2011

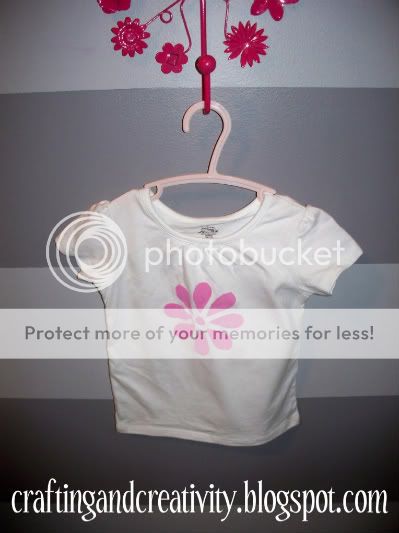
flower t-shirt {freezer paper stencil}

Last month my sister-in-law gave me freezer paper and some different colours of fabric paint so I could get started on projects using freezer paper stencils. I am recovering from a crazy month & a serious crafting rut. But I finally gave the freezer paper thing a try last week- and I don't know why I didn't try sooner! I just love how easy it all is and how endless the possibilities are!!

My first project was pretty simple..... a t-shirt for my daughter...


My supplies:

-freezer paper
-pink fabric paint, foam brush, and disposable plate (that I used as my paint tray)
-exacto knife & cutting mat and scissors
-die cut image of a daisy


I started with my plain white t-shirt ($4 from Walmart).


I have a bunch of die cuts from years ago in my scrapbook stash, I found one that I wanted to use as the stencil image for the shirt.


Then traced the image onto the dull side of the freezer paper.


Then I cut the image out using my exacto knife. Then ironed the image onto the shirt (shiny side down.) It's pretty cool how that works!


I put some of the freezer paper inside the shirt so the paint wouldn't bleed through. Then I painted away! I used 2 coats.


Once dry, I peeled away the freezer paper.


And then I dressed my little girl in her new shirt!


I seriously can't wait to get a bunch more solid-coloured t-shirts so I can get busy making more. My mind is spinning with ideas!


Thanks Paige for getting me addicted to another crafting area! ;)


{This project was featured on One Pretty Thing.}


Places to Party: Chicy Creations, C.R.A.F.T., Crystal's Craft Spot, Homemaker in Heels, It's FUN to Craft, Keeping it Simple, Lolly Jane Boutique, Making the World Cuter, My Junk Drawer, Naptime Crafters,Sassy Sites!, Simply Designing, Somewhat Simple, Sumo's Sweet Stuff, Tatertots and Jello, The Girl Creative, Tip Junkie, Today's Creative Blog, Trendy Treehouse, Yesterday on Tuesday, Young and Crafty

3.17.2011

large daisy headband

And here's the headband that started my headband obsession for the week! A friend of mine asked if I could make a white headband for her 2 year old little girl to wear to a wedding this weekend. So I made one like this for her.... then made another one for my little girl to wear!


Her little girl was so funny as she wore her new headband. You could tell she felt very pretty!

I think I may have to make some more. Making these has me thinking that spring may come soon. Even though it is snowing here today.... :(


Photobucket

pink rosette headband

Here's another cute headband I made this week. Once I start making headbands, I find it hard to stop! :)


Photobucket

3.16.2011

green and white polka dot headband

Hey everyone! I have a few things to share, but no time to blog lately. For now I'll show you this fun headband I made with white fabric that has green polka dots on it. Maybe I can wear it tomorrow for St. Patty's Day and avoid getting pinched! {wink}


I think it's pretty cute!
Check back soon for some more headbands and a fabulous GIVEAWAY! :)


Photobucket

1.10.2011

pink and green tutu TUTORIAL

In case you missed it, I was invited to guest post at Crystal's Craft Spot last week where I shared a tutu tutorial. Here it is.......


Today I'm going to sh0w you how to make a pretty tutu for your little girl to dress up in!
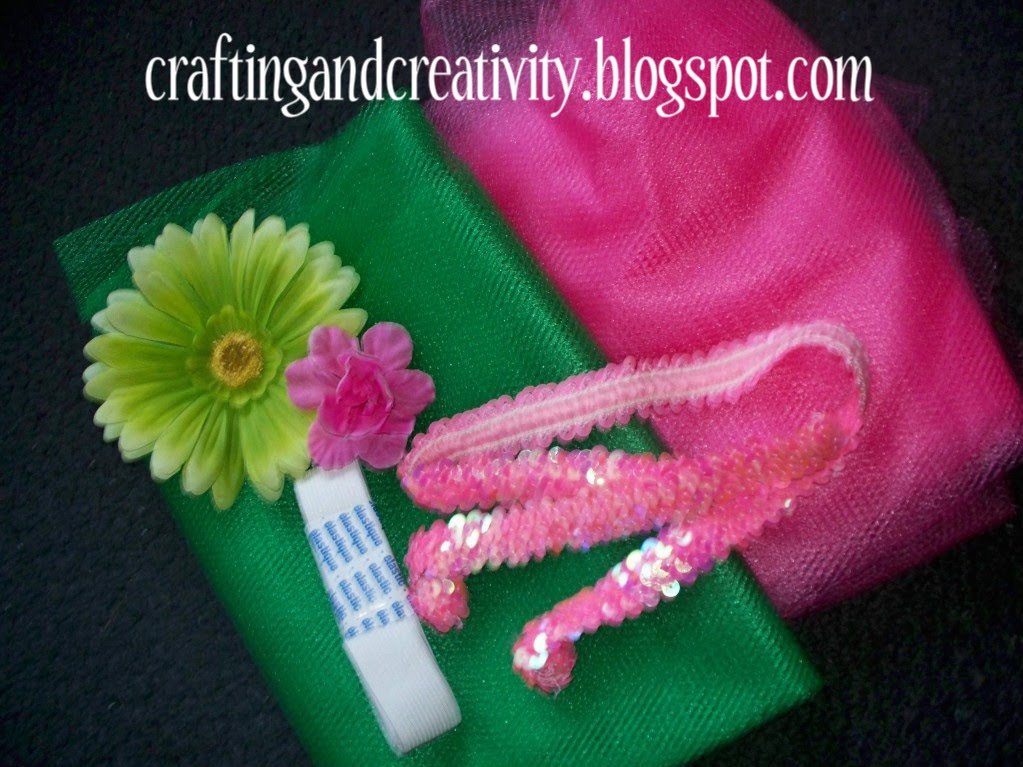
For supplies all you need is your tulle (I think I used about 3 meters in each color), elastic, and sequins and/or flowers to embellish it at the end if you desire. (BTW, I didn't end up using both the flowers pictured here, I just went with the green one.)


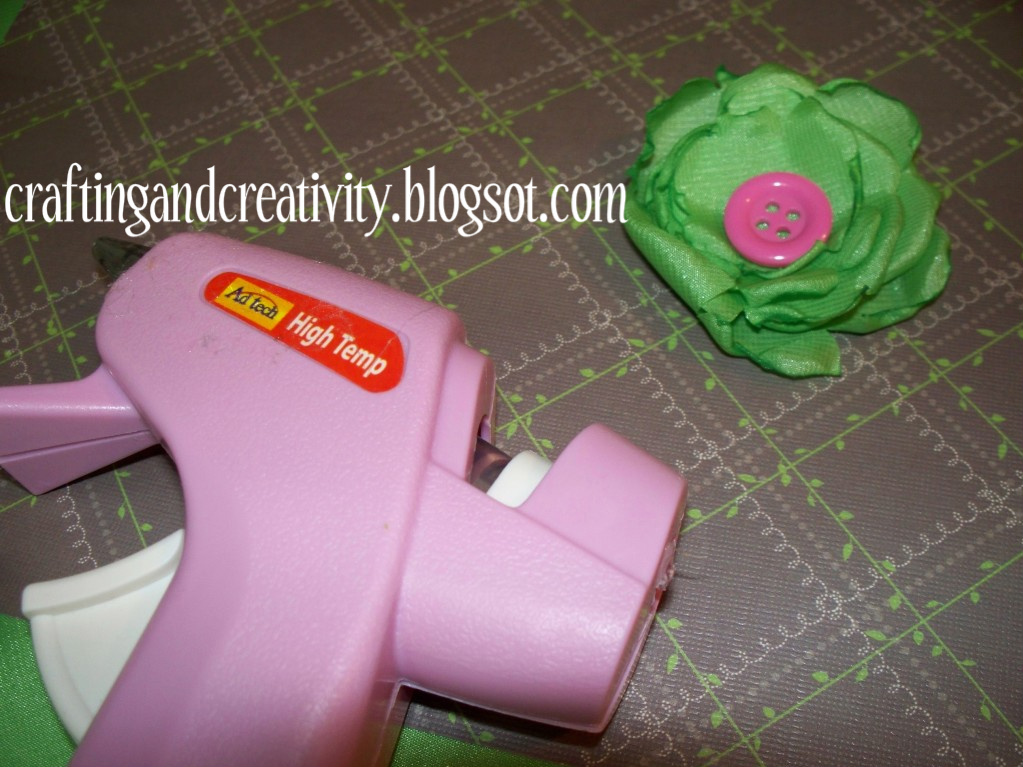
You will also need scissors, needle and thread, and a glue gun if you decide to add flowers at the end.
Cut your tulle into 2 inch strips that are twice as long as you would like the length of your tutu to be at the end. I ended up having about 70 pieces of tulle in each of my colors...


Measure the child's waist and subtract a couple of inches because we're using elastic for the waist. Sew the ends together.
Next, slip the elastic past your knee because that's an easy way to tie the tulle strips onto it. Fold each piece in half, then tie it on like so...


How much easier does it get?!! Keep on going now until your tutu is looks as full as you want it to look!


You can either leave it and you're done.............


Which is totally fine. It looks really pretty like this.


OR you can jazz it up a bit more! I made this one for my six year old niece to play dress-up with, so I wanted it to be more flashy! So I sewed the sequined piece of elastic around the top, using my needle and thread.


Then I added the large flower using my glue gun. Here's the finished product:


And in case you're a new reader of this blog, here are the ones I made in the past for my daughter........

I made this pink one so she could be a ballerina for Halloween:


And I made this fall-inspired one just for fun:


Happy crafting!!


11.03.2010

green flower TUTORIAL

Want to learn how to make one of these??


Step 1: Trace circles onto the fabric. {Must be the shiny synthetic fabric so it will melt when heated, cotton fabric will just burn.} I used 5 circles, you can use more if you want it to be bigger

.


Step 2: Cut them out. I added a few snips with my scissors so the petals were more defined. That is optional.


Step 3: Using tongs of pliers, hold each circle a few inches above the flame of a candle so the edges melt. I lined my counter with a piece of tin foil so I could set the circles down right after.


This is what they looked like after that step.


Step 4: Glue them all together with glue gun. Add a button or jewel to the centre.


And now you have a ca-ute flower to add to whatever your heart desires.


Happy crafting!


{This project was featured on the Childmade site & on Life With The Lebedas.}


11.01.2010

lace flower

I was inspired by the lace flower at Chicy Creations. So I'll show you my version.........


Although I LOVE the pink lace that Amy used, I only had white on hand. Here are the supplies I used:


I cut a circle out of white felt...


Then began gluing the lace down, working from the edges into the middle......


Using lace make it easy to burn your fingers on the glue. Don't ask how I know this ;)


I opted to kind of bunch the lace every so often, like this:


Then I glued this pearl in the centre:


I originally wanted to turn it into a headband for my daughter, like this:


The headband was cute, but just a bit too much lace for what I wanted. So instead, I stitched it onto this black shirt I bought for her last week. I can just remove it easily if I want to use the skirt plain.


She wore this to the wedding we went to on the weekend and got lots of compliments. But that's a regular thing for her :)


What would YOU add a lace flower to???


LinkWithin

Related Posts with Thumbnails