Hi everyone, I'm Kaysi from Keeping it Simple.
I have a thing for snowmen. I just love decorating with them. I think that I like them because you can use them for Christmas but you can also use them for all of winter. So when I saw this idea, I knew that I wanted to make it!

This is how I made it:
1) I started with 5 pieces of 2x4 wood (I know that in the picture there is 6, I was going to use all of them, but decided it was too crowded). I cut them in various sizes, from 12 inches to 18 inches.

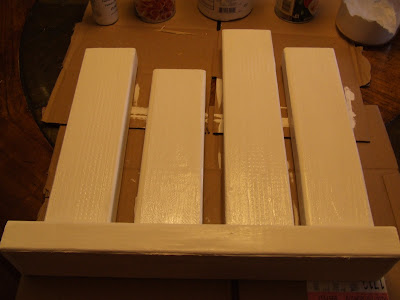
2) I used the 18 inch piece for the bottom. Using a glue gun (I couldn't find my wood glue) I glued the other pieces on the bottom pieces.

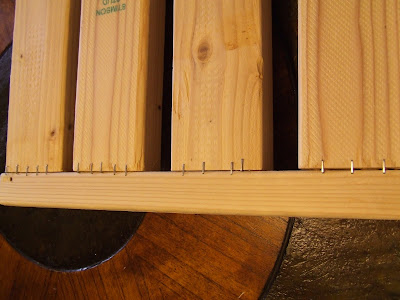
3) For more reinforcement, I stapled the backs of each piece

4) I then painted all of it white

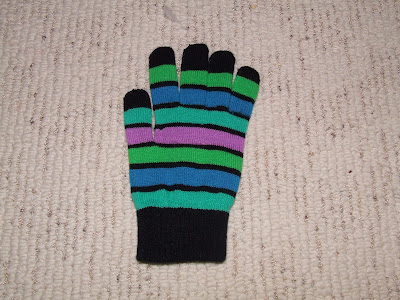
Now for the cute hats, I made them out of adult gloves

5) I turned the gloved inside out and sewed the thumb.

6) I then gathered the four fingers and tied them with ribbon

7) I cut each finger in half, just for fun :)

8) I then placed the hat onto the snowman

9) I then made three more hats and some scarves out of fleece

10) Using black paint, I painted on the faces. For the noses, I used some wooden V letters that I had and painted them orange.

Now for the sign:
11) Using my Silhouette, I cut the letters out of card stock and patterned paper

12) Using mod podge, I put the letters and snowflakes onto my black piece of wood

13) I then glued the sign in front of the wood and stapled the bottom

14) I then used cotton balls and glued them all over the bottom piece of wood.

And now it's on my porch, ready to greet people when they come by!!!

------------------------------------------------------------------------------------
Those are seriously cute! Kaysi, thanks for sharing how to make them!!

Super cute! I love the snowmen and the Keeping it Simple Blog! Just started following your blog. I'm excited to see more!
ReplyDelete